
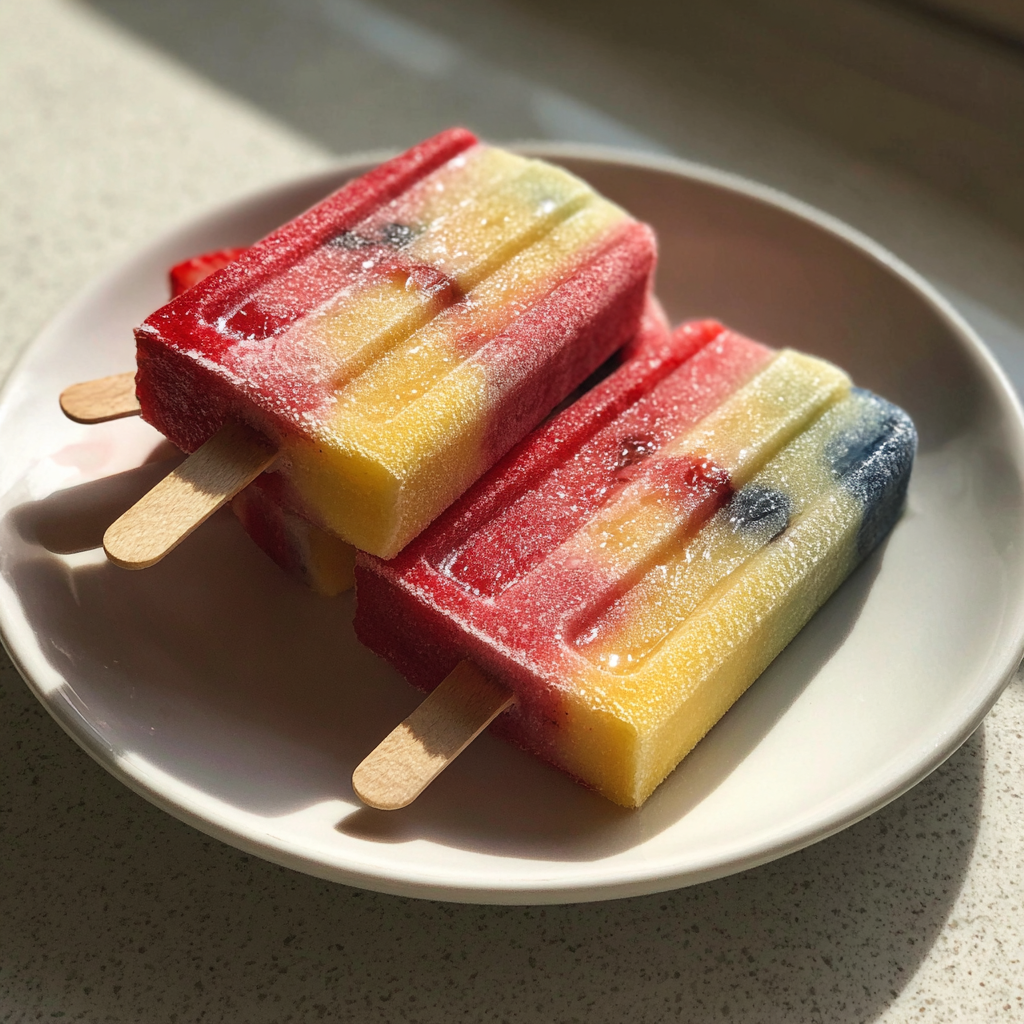
Homemade Popsicles: 5 Refreshing Treats for Summer Heat
Are you looking for a way to beat the summer heat? Homemade popsicles are the perfect solution! These frozen treats are not only incredibly refreshing but also easy to make. Imagine sinking your teeth into a fruity, icy popsicle on a hot day—nothing quite compares to that feeling. Have you ever wondered how you can create your own delicious popsicles at home? The vibrant colors and enticing aromas of fresh fruits will fill your kitchen as you prepare these delightful frozen snacks.
As you blend fresh strawberries, mangoes, or blueberries with a touch of sugar or honey, the sweet scents of summer will envelop you. The popsicles will emerge from the freezer, their bright colors gleaming, promising a burst of flavor with each bite. The texture ranges from creamy to icy, depending on your choice of ingredients. Each popsicle will tantalize your taste buds, making you crave more!
In addition to being a fun summer activity, homemade popsicles offer a myriad of health benefits. Fresh fruits are packed with essential nutrients, making these treats not only delicious but also nutritious. For instance, strawberries are an excellent source of Vitamin C, which boosts your immune system. Mangoes provide a good dose of Vitamin A, essential for healthy vision, while blueberries are rich in antioxidants, promoting heart health. Did you know that frozen fruits can retain their nutritional value even better than fresh ones sometimes? That’s right! These popsicles can be a wholesome option for satisfying your sweet tooth.
Moreover, this recipe allows you to customize your popsicles based on your dietary preferences. You can opt for honey instead of sugar for a natural sweetener or use fruit juice for added flavor. The best part is that making these popsicles is a fun activity for the entire family, including children who can help choose their favorite fruits and pour the mixtures into molds. This recipe works exceptionally for hot summer days when you need a quick, refreshing treat. It’s a fun way to get your kids involved in the kitchen, teaching them about healthy eating while creating memories together.
In summary, homemade popsicles are a fantastic way to enjoy the summer heat. With a prep time of only 15 minutes and a freeze time of several hours, you can have these treats ready for your family and friends. This recipe is perfect for beginners and is a great option for weeknight snack prep or summer gatherings. Let’s dive into the details of how to make these incredible homemade popsicles!
What are Homemade Popsicles?
Homemade popsicles are frozen treats made by blending fruits, sweeteners, and liquids to create a refreshing snack perfect for hot weather. Unlike store-bought versions, you control the ingredients, ensuring they are free from artificial flavors and preservatives. These popsicles can be made in various flavors, offering a delightful way to enjoy seasonal fruits.
Why You Will Love This Recipe
- Healthier Option: You can control the amount of sugar and use natural sweeteners.
- Customizable Flavors: Mix and match fruits to create your favorite flavor combinations.
- Kid-Friendly: A fun activity for children to help make their own treats.
- Quick and Easy: Simple prep with minimal ingredients needed.
- Perfect for Parties: A crowd-pleaser at summer gatherings and barbecues.
Ingredients You Need
- Fresh fruit: Strawberries, mangoes, and blueberries are all excellent choices, providing vitamins and antioxidants.
- Granulated sugar or honey: Used to sweeten the popsicles naturally.
- Water or fruit juice: Acts as the base for your popsicles, enhancing flavor.
- Lemon juice: Adds a tangy flavor and helps balance sweetness.
How to Make Homemade Popsicles Step by Step
- Choose your favorite fruits and wash them thoroughly. For example, use 2 cups of strawberries, hulled and sliced.
- In a blender, combine the fruit with 1 cup of water or fruit juice, 2 tablespoons of sugar or honey, and 1 tablespoon of lemon juice.
- Blend until smooth and well-combined.
- Pour the mixture into popsicle molds, leaving a little space at the top for expansion.
- Insert sticks into the molds and freeze for at least 4-6 hours, or until completely solid.
- To remove the popsicles, run warm water over the outside of the molds for a few seconds, then gently pull the popsicles out.
Pro Tip: Adjust the sweetness according to your preference. Taste the mixture before pouring it into molds.
Expert Tips for Best Results
- Use ripe fruits for the best flavor and sweetness.
- Mix fruits for unique flavor combinations (e.g., strawberry-mango).
- Experiment with yogurt for a creamier texture.
- For added fun, layer different flavors in the molds before freezing.
- Make a fruit puree and layer it with yogurt for a beautiful presentation.
- Store popsicles in an airtight container to prevent freezer burn.
Variations and Substitutions
- Dairy-Free: Use coconut milk or almond milk instead of yogurt.
- Low-Sugar: Substitute sugar with stevia or omit entirely for a sugar-free version.
- Seasonal Fruits: Use peaches in the summer or apples in the fall for a seasonal twist.
- Herbal Infusion: Add basil or mint for a refreshing herbal note.
How to Serve and Store
Serve homemade popsicles as a cool snack on hot summer days or as a fun dessert at parties. These popsicles can be stored in the freezer for up to 2 months in an airtight container. If you plan to freeze them, ensure they are tightly sealed to avoid freezer burn. To reheat, simply let them sit at room temperature for a few minutes or run them under warm water for a quick release.
Frequently Asked Questions
Can I use frozen fruit instead of fresh?
Yes, frozen fruit works well and can provide a thicker texture.
Are homemade popsicles healthy?
Yes, they are made with fresh fruit and can be customized to suit your dietary needs.
How long do homemade popsicles last in the freezer?
They can last up to 2 months when stored properly in an airtight container.
Can I add yogurt to my popsicles?
Absolutely! Yogurt adds creaminess and enhances the nutritional value.
What is the best way to remove popsicles from molds?
Run warm water over the outside of the molds for a few seconds to help release them.
Can I make popsicles without molds?
Yes, you can use paper cups and wooden sticks as an alternative to traditional molds.
In conclusion, homemade popsicles are a fantastic way to enjoy summer while benefiting from fresh fruits. They are healthier than store-bought options and can be customized to your taste preferences, making them a great choice for families. Try this recipe today and leave a comment below!
[tasty-recipe id=”24695″]